Are you an angler and looking for how to put a bobber on a fishing line? Bobber will let you know how to fish bites. To catch a fish underwater, the bobber plays an esthetic role. Anglers would love to know if we will talk about putting a bobber on a fishing line exactly. In this article, we will explore some expert tricks to put a bobber and will learn how it works. Let’s dive into:
Step-by-Step Guide to How to Put a Bobber on a Fishing Line
Step 1: Thread Your Line
Before attaching anything at the end, be sure to reggae your line properly. Select a line that is suitable for the specific kind of water you’re fishing in. Start by putting the line on the rail and then running it through your stick. Kindly ensure you pass the line through all the relevant guides so you can cast continuously.
Step 2: Attach the Hook to the End of the Line
To ensure the proper placement of your bobber, it’s recommended to start by tying your hook to a fishing line. This bundle will preserve the hook and prevent it from eroding when the fish is bitten. Additionally, cutting any extra line after tying the hook will help avoid any confusion. Preferring hook space will give you a better idea of where to put your bobber for maximum fishing.
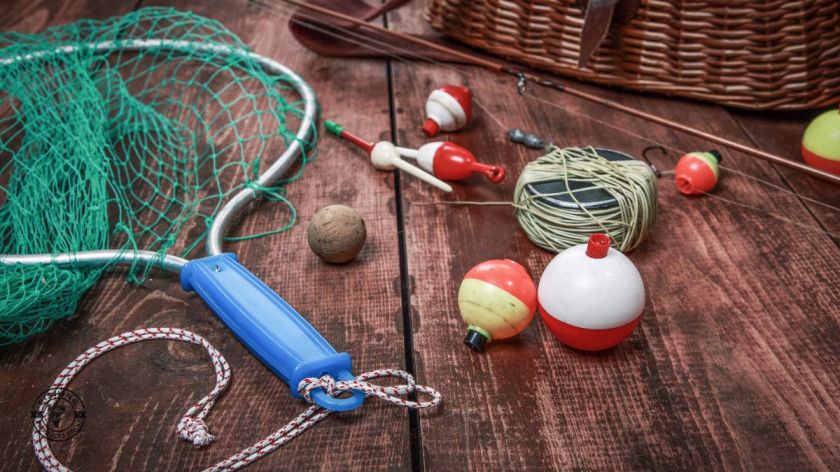
Step 3: Add a Sinker
To keep your fishing hook underwater and prevent it from floating, you can use sinkers. These are extra weights that can be easily attached to your fishing line. To attach the sinker properly, insert it over the hook and about four fingers’ width into the channel on the line. Next, use needlenose pliers to securely pinch the closed sinker around the line.
It’s important to choose a sinker that’s heavy enough to keep the line down, but not heavy enough to pull the bobber underwater. If you see your bobber falling below the surface after casting, consider using a light sinker. For deep water, 1/8 ounce (3.5 grams) of sinker should be sufficient, while for deep water, choose 1/4-3/8 ounce (7.1-10.6 grams) of sinker.
Step 4: Choose a Mini Bobber
Moving towards the main step of how to put a bobber on a fishing line. When fishing, selecting the right size hook is necessary. Large bobbers are easy to see, but they’re not so sensitive to small fish bites. To get started, try using a small round bobber and switch to a larger one if it’s drowned by the weight of bait, hook, and sinker.
When angling in deeper waters, using a bigger bobber can enhance your experience. Keep in mind that a large bobber will be needed for large fodder. There is no right technique for selecting the exact size, so it may take a few trials and errors to find out which one is best for your right fishing.

Step 5: Attach a Bobber
Place a fixed bobber 3–4 ft. (0.91–1.22 m) above your hook. In order to prevent fish from getting spooked, it’s important to maintain a small gap between the hook and the bobber. The depth your hook will sink is determined by the amount of line stretched under the bobber. Since many deep-water fish swim up to two feet below the surface of the water. Estimate this distance from the top of the hook and hold the line gently to maintain your preferred distance.
When attaching your bobber, consider the water conditions. When angling in an area rich in aquatic vegetation or submerged obstructions, you may need to reduce the length of the line under the bobber to about 1-2 feet (about 30-61 cm). Keeping the bobber too high on the line can make casting difficult. If you want to fish in deep water, a slip bobber setup is recommended.
Step 6: Clip the Bottom of the Bobber with the Line
To expose the hook, you’ll need to press a button at the bottom. Identify the cylindrical button situated atop the bobber, then push it down again using your finger. This will kick the hook out from the bottom. Then, wrap your fishing line around the hook once or twice. Once you release the button, the line will be drawn and safely in place.
Step 7: Thread the Line on the Top of the Bobber
To clip the line, you don’t need to tie knots. Hold your line in place by placing your thumb on the bottom of the bobber. Draw the edge line of the bobber firmly towards the upper cylinder. Use your nails to press down the edge of the cylinder, exposing the hook. Wrap the line around the hook several times before letting go of the button. You can add an overhand gaunt for extra protection to prevent your bobber from moving over the line, but it’s not mandatory.
Change the position of the bobber by pressing the top button of the bobber to adjust again. You can use long bobbers also. For trout, crappie, perch, and bluegill use long pencil-style bobbers. Transparent bobbers are also available in the market.
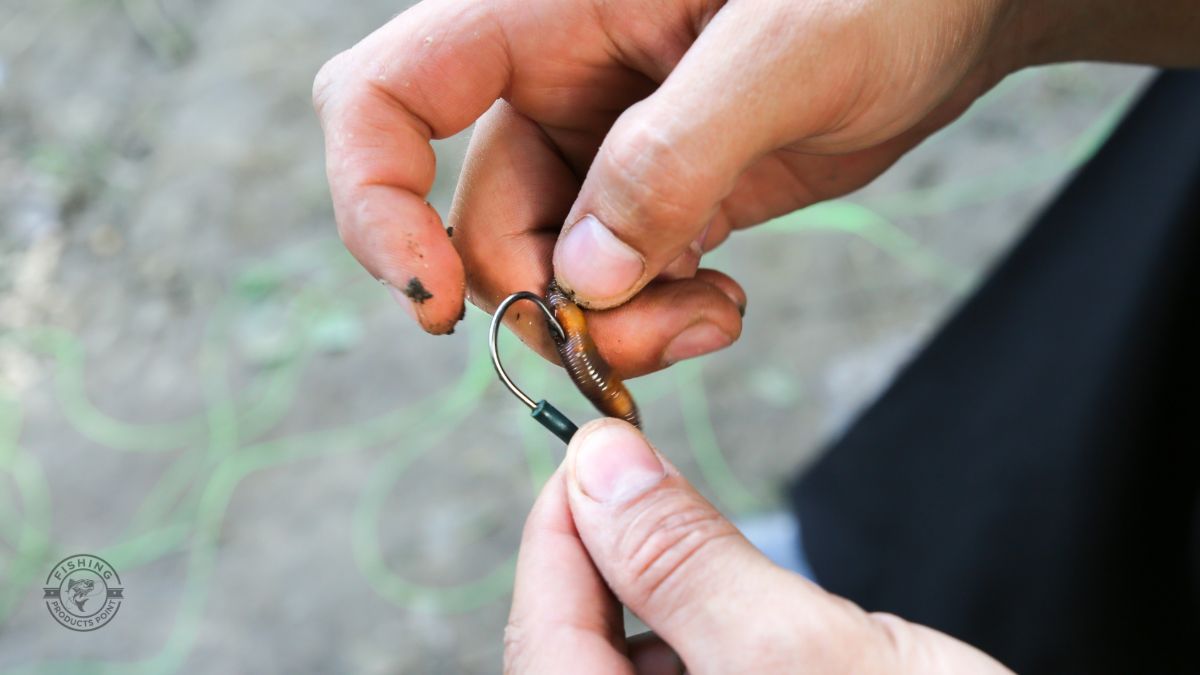
Step 8: Small Baits to Eat
To make fish easier to eat, it is better to use small fodder. If you use a full worm, the fish can cut pieces without actually catching it on your hook. Instead, rip a portion of the bait that’s about 1 inch (2.5 cm) long and slide it onto your hook to cover the barbed. This will reduce the likelihood that the fish will find the hook.
Final Thoughts
We have fully informed you about how to put a bobber on a fishing line. You can see visibly how easy it is to put a bobber in the fishing line. Use different types of bobbers according to your fishing type. Choose exact sizes to avoid mistakes. Arrange worms and set worms into the hook to catch fish. Make sure to tie knots perfectly So that the knot cannot be opened. Stay connected and have fun dear anglers!


