If you are an avid angler, then you know that having the right equipment can make all the difference when it comes to catching your limit. An essential piece of equipment is a fish detector. But, do you know how to read a fish finder?
Fish finders are an invaluable tool for anglers, allowing them to locate and target fish more effectively. However, many people do not know how to properly read the data that is displayed on their fish finder screens.
To help you make better decisions when out fishing, I will cover the basics of reading a fish finder in the following guide as well as how to understand the data it provides.
Components of a Fish Finder
When you look at your fish finder, you will see two main components:
- Display screen
- Transducer
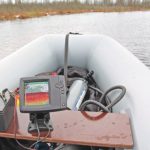
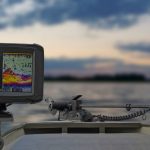
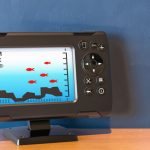
The display screen is where you will see the visual representation of what is below the surface. While the transducer is responsible for sending out and receiving sound waves.
Usage of a Fish Finder
When utilizing a fish finder, the “fish arches” are what you should pay the most attention to. These curving lines show the location of the fish. You can also use a fish finder to identify underwater structures, such as rocks or sunken logs, which can be great places to cast your line.
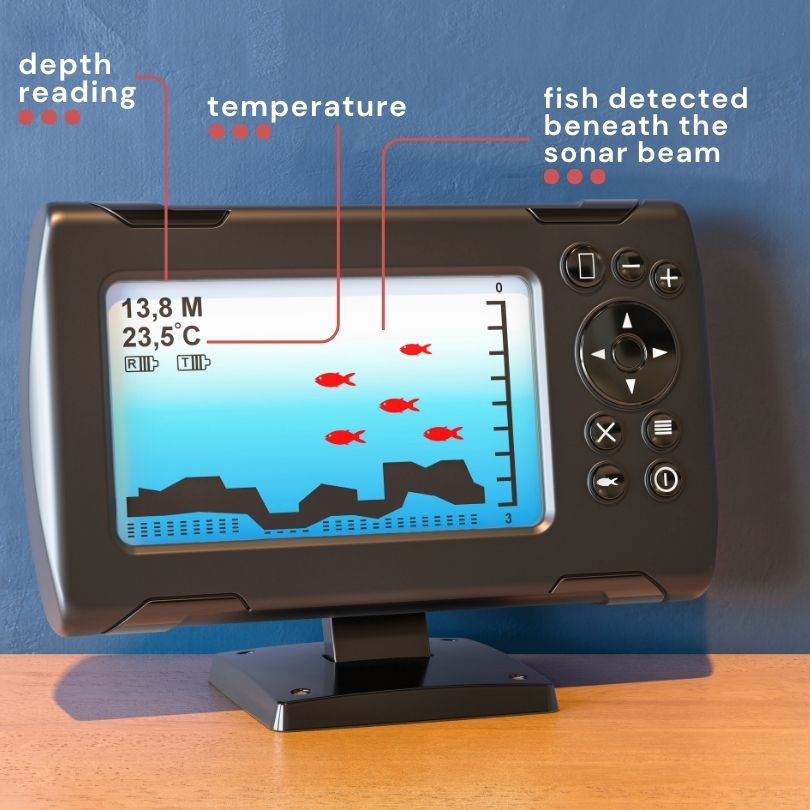
In addition to the fish arches, you should focus on the in-depth reading as well. This will tell you how deep the water is and can help you determine where the best fishing spots are located. You may also see a temperature reading on your fish finder. It can be useful for finding the right type of bait.
Steps of Reading a Fish Finder
Reading a fish finder is straightforward and can be broken down into four main parts:
1. Understanding Your Fish Finder Display
the first step in learning how to read a fish finder is to understand what all of the different symbols mean and represent on its display screen. Most modern units have several features such as depth readings, bottom contour mapping, water temperature sensors, and even GPS navigation capabilities.
It is important to familiarize yourself with each one before attempting any type of interpretation or analysis from your device’s output data.
2. Interpreting Depth Readings
Depth readings are typically represented by two lines – one indicating current depth (in feet) and another showing maximum depth reached during your session (in feet).
The difference between these two numbers gives you an idea of just how deep the body of water is at various points along your route or chosen area for fishing activity.
Having this knowledge beforehand makes sure that you stay within safe depths when trolling or casting lures into deeper waters. This is where larger gamefish may be lurking beneath the surface waiting for prey items like baitfish or insects floating above them in shallower areas nearby.
3. Analyzing Bottom Contours & Structure
Most high-quality models also feature detailed bottom contour maps. This allows users to get a better picture of underwater terrain including drop-offs, ledges, humps, etc.
These types of structures often attract large concentrations of gamefish due to their ability to hide away from predators. They still have access to food sources located near shoreline edges or other shallow regions close by depending upon weather conditions etc.
Studying these maps closely allows anglers to gain insight into potential hot spots. They should focus their efforts on looking specifically to target certain species known to inhabit particular habitats based on experience/knowledge.
4. Utilizing Water Temperature Sensors & Other Features
Lastly, some higher-end models come equipped with built-in thermometers, which measure ambient temperatures surrounding the unit. It will give the user additional layer info work about predicting behavior patterns associated with specific species being targeted.

Conclusion
Finally, it is important to remember that a fish finder is only as good as its user. You need to practice and become familiar with your gadget to maximize its potential.
That is why I have explained how to read a fish finder by following the steps mentioned above. Spend some time experimenting with various settings and get a feel for how the readings change. You will be able to read your fish finder like a pro with sufficient practice.
